Setting up a BlueStacks VM to Monitor Traffic with ADB and HTTP Toolkit
This guide will walk you through setting up ADB and HTTP Toolkit to capture and monitor HTTP traffic within a BlueStacks Android VM.
Before starting, make sure you've gone through all the steps in the following articles:
To get started, open BlueStacks and start the VM
Launch BlueStacks on your computer
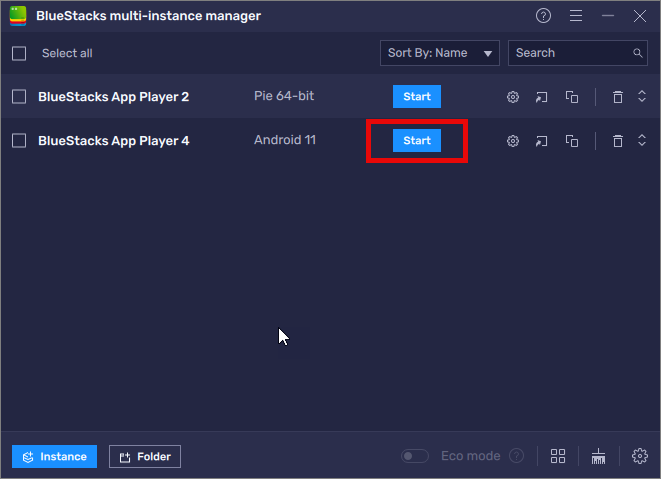
1. Click on the Multi-instance Manager (or Instance button) from the main screen
2. Click Start to open the Bluestacks VM
Open Command Prompt as Administrator
In Command Prompt
Type in cd\ and press enter
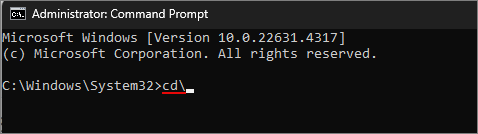
Type in cd\ and press enter
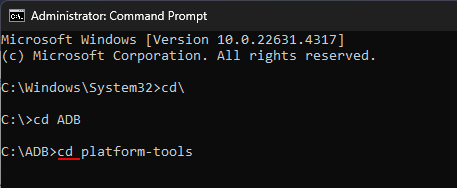
Type in cd ADB
press enter
press enter
Type "cd " (include a space after cd) and press tab to auto-populate platform-tools
press enter
Type in ADB kill-server
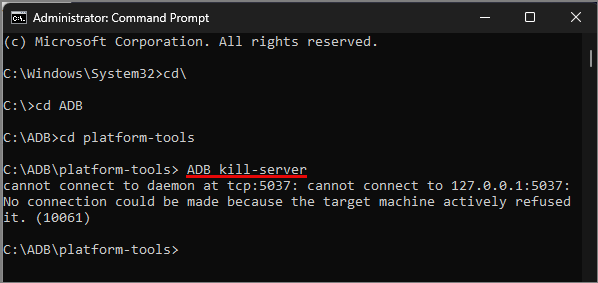
Type in ADB kill-server
Type ADB root
(If you get the device offline message below, just type in ADB root again)
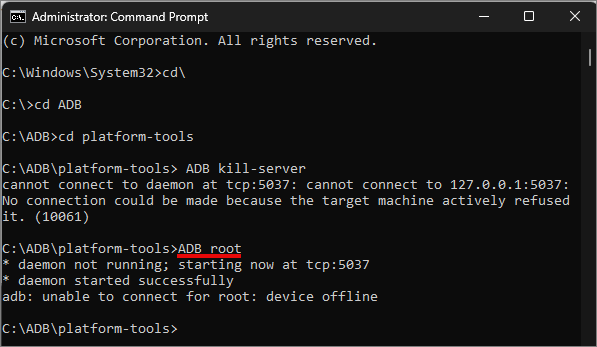
(If you get the device offline message below, just type in ADB root again)
The ADB root response we are expecting is restarting adbd as root
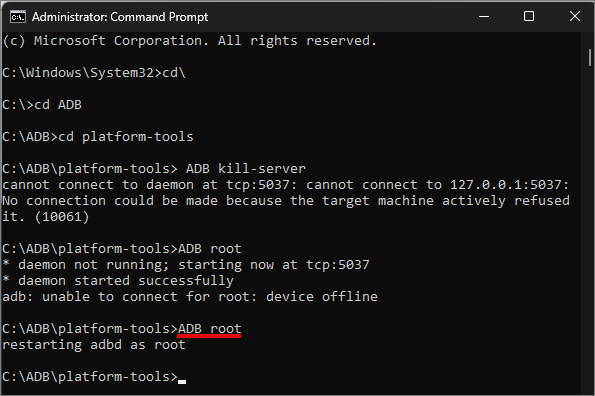
Open HTTP Toolkit on your computer
In the left menu, select Intercept HTTP
Search for ADB
Select the result labeled Android Device via ADB
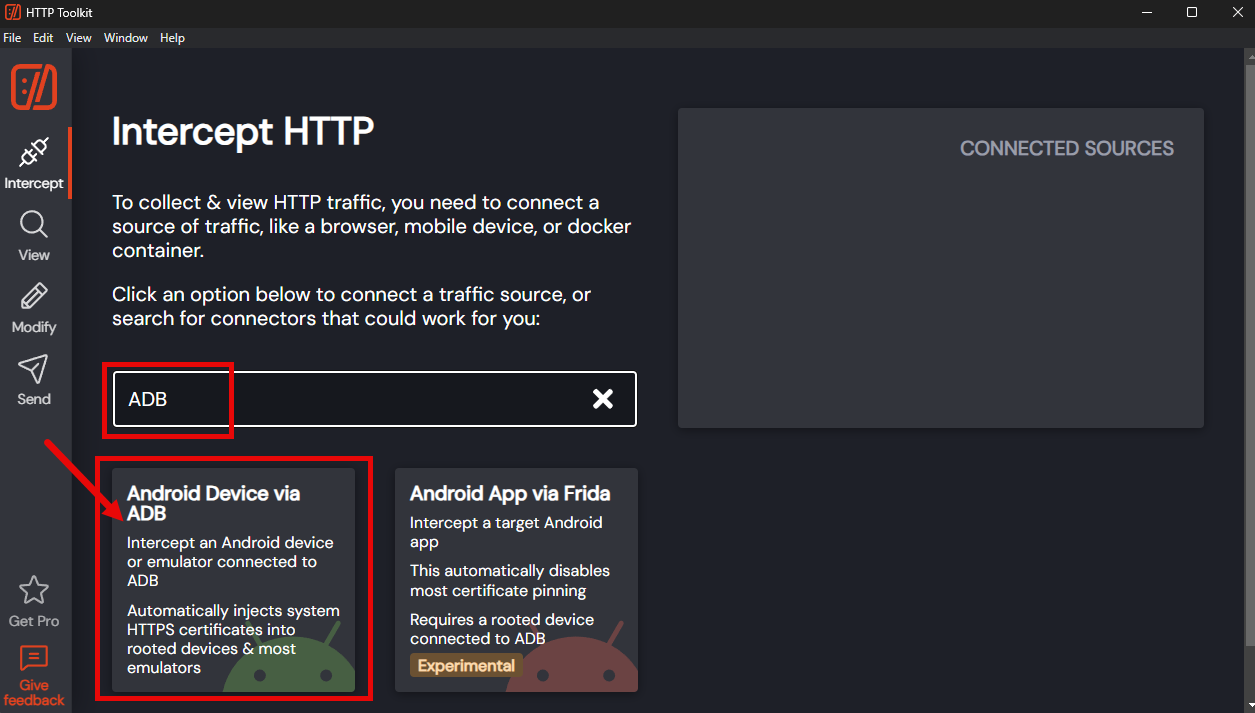
Go back to BlueStacks VM
Click OK on the connection request
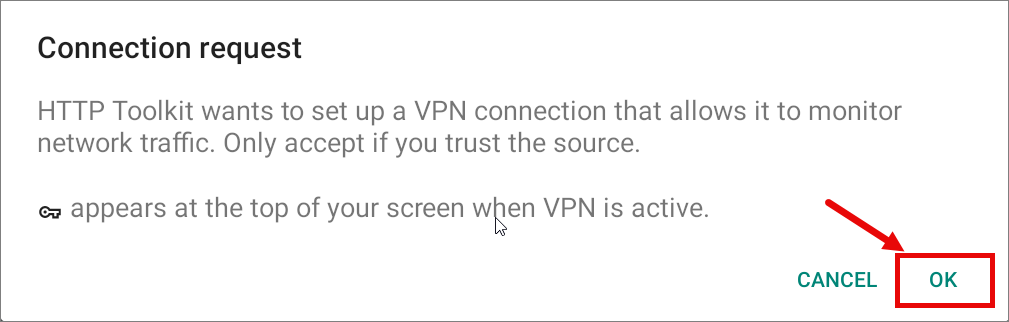
Click OK on the connection request
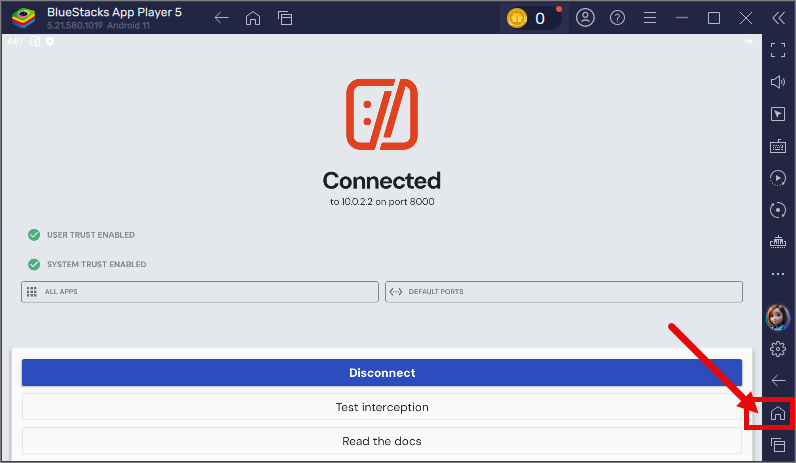
Click Home on the bottom-right side
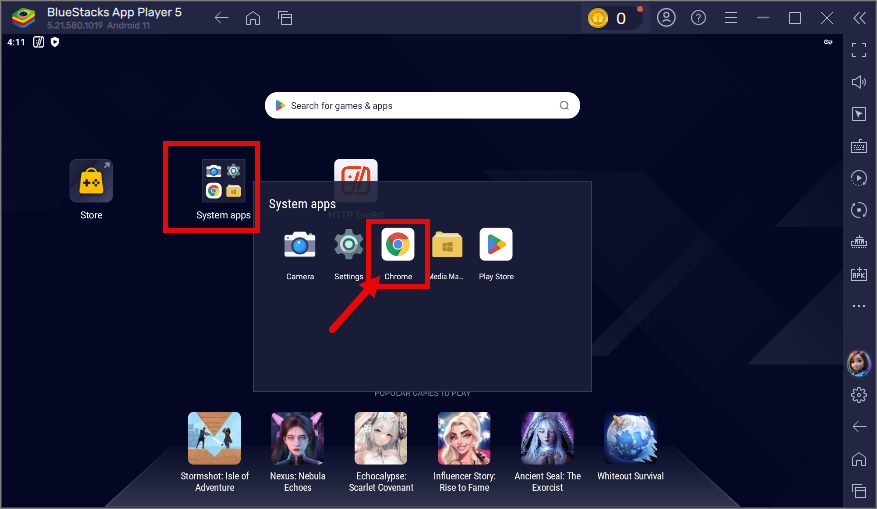
Go to system apps
Open Chrome
Accept the terms and continue
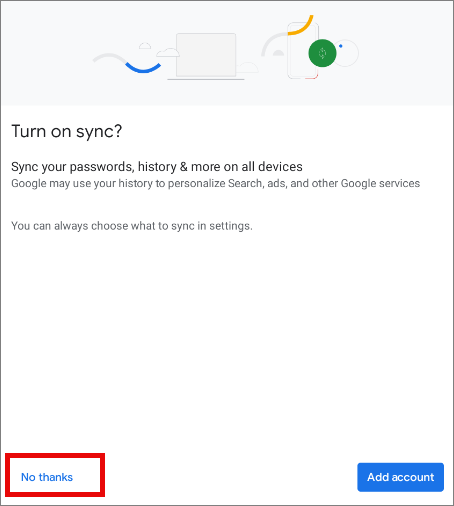
Do not sync an account
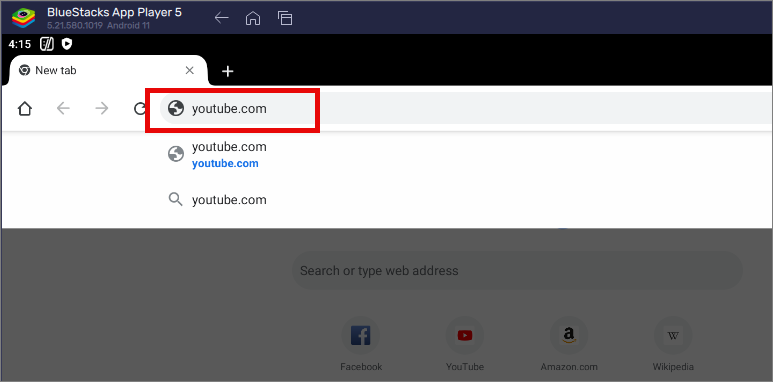
When Chrome opens go to youtube.com
Go back to HTTP Toolkit
Open Chrome
Accept the terms and continue
Do not sync an account
When Chrome opens go to youtube.com
Go back to HTTP Toolkit
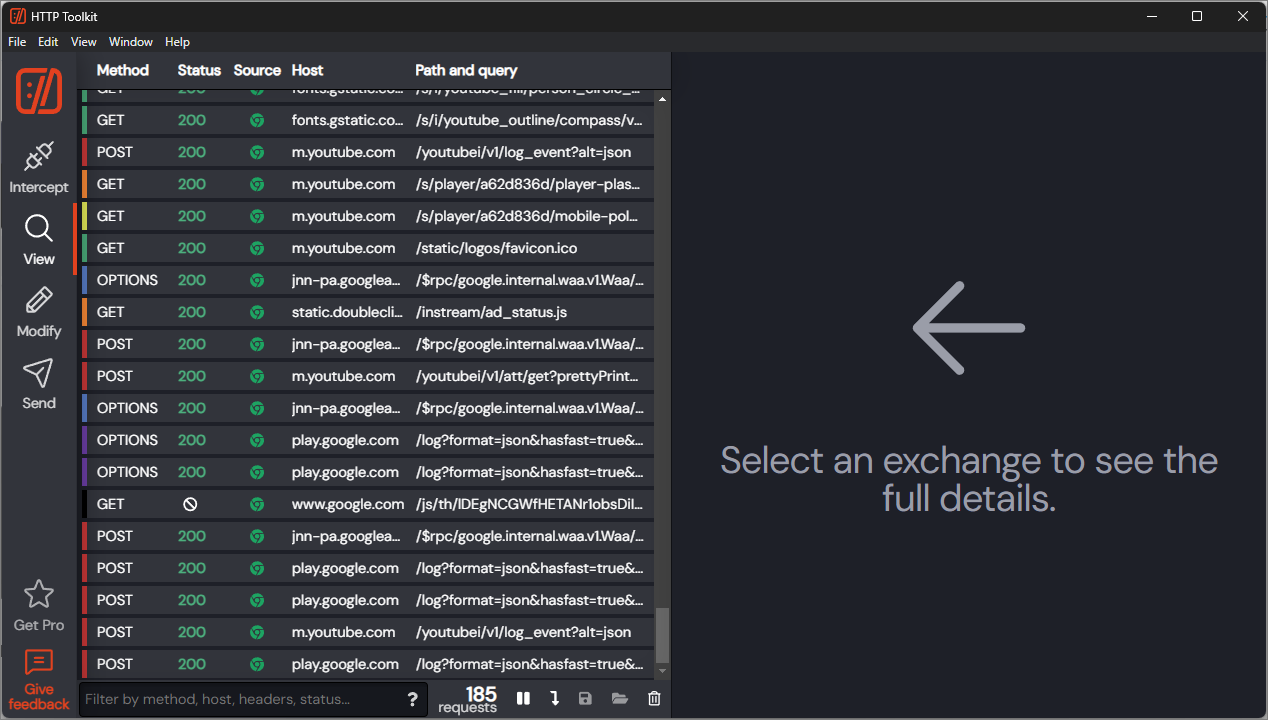
You should see the HTTP traffic from BlueStacks, including requests made through Chrome